Introduction
In order to keep your Mac secure and operating efficiently it is important that you always install software updates as they become available. These updates not only fix problems with applications and the operating system, but also fix security vulnerabilities that can be used by computer viruses to infect your computer. Unfortunately, many people feel that because they are using a Mac they are much more secure and thus may not be as diligent in updating their software as they would on a Windows machine where viruses are much more common. The reality, though, is that any operating system, regardless of who makes it, constantly introduces security vulnerabilities that need to be fixed. Therefore, it is important to remember that though you may be using a Mac, even they are vulnerable to computer infections as shown by the recent Backdoor.Flashback Trojan.
With that said, updating your operating system and its installed applications so that they are using the latest versions and patches is imperative to having a healthy and usable computer. This tutorial will walk you through updating your Mac computer as well as configuring it to automatically alert you when new updates are available.
How to install operating system updates for Mac computer
To install the latest software updates on your Mac computer please follow these steps.
Click on the Apple (
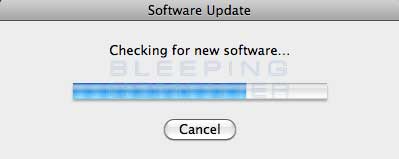
After checking for new updates, if there are no updates available it will display a messages stating that Your Software is up to date. If you see this message, you can click on the Quit button to exit the software update procedure. On the other hand, if updates are available you will be shown a dialog box, similar to the one below, asking what you would like to do.
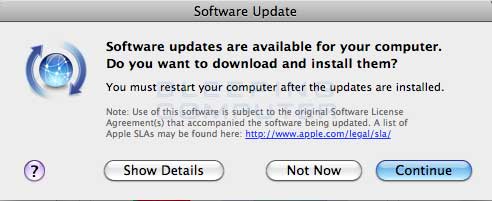
You should now click on the Show Details button to see what updates are going to be installed on your computer. This will display a screen, as shown below, that displays all the updates that will be installed.
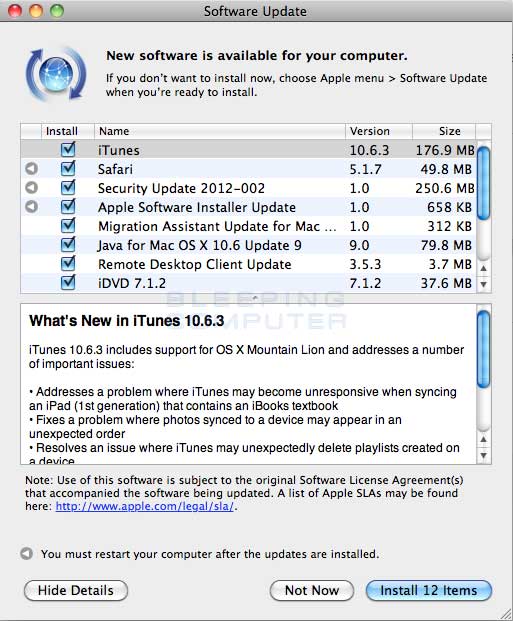
You can scroll through the list of updates and uncheck those that you do not wish to install. It is suggested, though, that you do not uncheck any of the updates and allow them all to be installed. Once you have reviewed the available updates, click on the Install button to start the update process.
The operating system will now install all of the updates that were listed in the screen above. While the updates are being installed you will see a status screen similar to the one below.
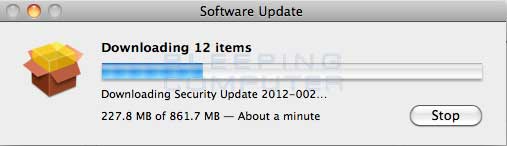
When the updates are finished installing, your Mac will prompt you to reboot your computer. Please allow the computer to reboot and the updates will now have been successfully installed.
How to configure Software Update on your Mac
Software Update can be configured so that updates are automatically downloaded on a regular basis. This section will provide information on the best way to configure Software Update for your Mac.
Click on the Apple (
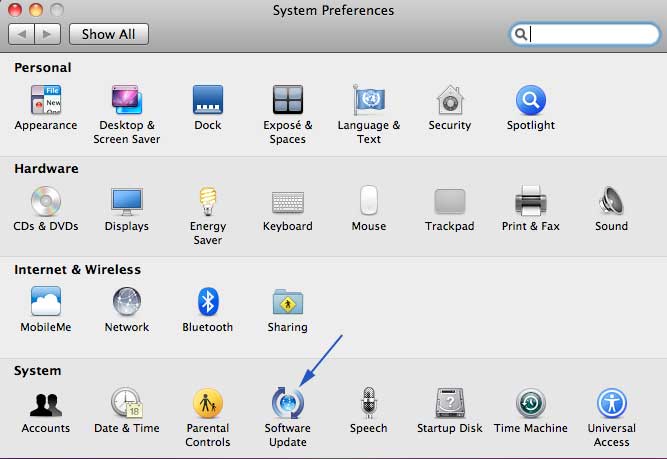
In this window, click on the Software Update icon as shown by the blue arrow above. This will open the Software Update configuration screen as seen below.
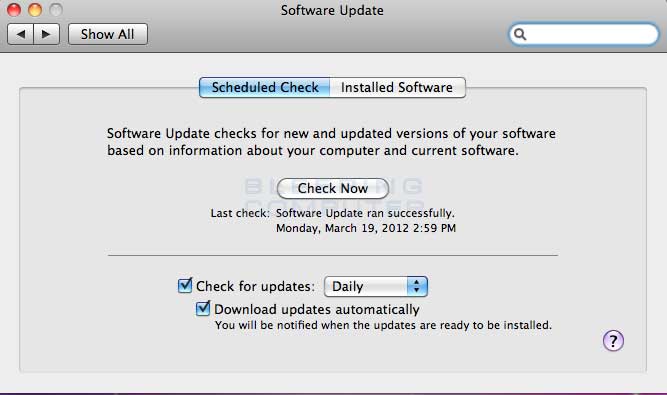
In this screen you can configure some basic options as to how Software Update will work on your computer. The Check Now button will allow you to instantly perform a search for new updates. The Check for updates checkbox allows you to specify if you want to check for updates automatically and how frequently you wish to do so. The Download updates automatically button specifies if you would like software updates to be automatically downloaded to your Mac so that they are ready to be installed.
It is suggested that you keep both Check for updates and Download updates automatically checked and to perform these checks daily. This makes sure you are notified of new updates as they occur in the event that there is a critical one that needs to be installed for the safety of your Mac.
How to see what updates have been installed on your Mac
In the event that you need to see what updates have been previously installed on your computer, you can go into the Software Updates preferences screen to see them. To do this, click on the Apple (
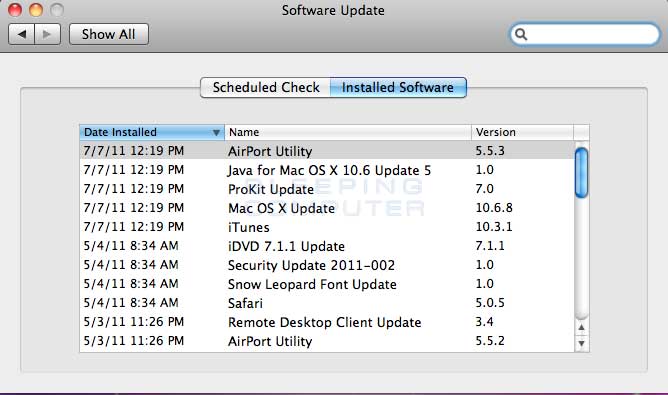
The Installed Software screen will show the name of all the applications, and their updates, and when they been installed on your Mac. When scrolling through the list of software, you may notice that the same software may be listed twice. This is because they are different updates to the same application, which is indicated by the different version numbers.
With this information you can now determine if you are using the latest version of an installed software.
Thanks & Regards,
"Remember Me When You Raise Your Hand For Dua"
Raheel Ahmed Khan
System Engineer
send2raheel@yahoo.com
send2raheel@engineer.com
sirraheel@gmail.com
send2raheel (skype id)
My Blog Spot
http://raheel-mydreamz.blogspot.com/
http://raheeldreamz.wordpress.com/
My Face book pages
http://www.facebook.com/pages/My-Dreamz-Rebiuld-our-nation
http://www.facebook.com/pages/Beauty-of-islam
http://www.facebook.com/pages/Health-is-wealth


No comments:
Post a Comment